About Ms Bettencourt

Ms Bettencourt is a Swedish built 25-foot trailerable trawler. Her hull was completed in 1971, No. 1117 of about 2500 built. The boat is named for my wife Dia, whose maiden name is Bettencourt.

This little vessel came to me as a gift in 2004. Before then she had been abandoned about 12 years on the Savannah River near Augusta, GA. I have repaired and refitted the boat extensively, and I have cruised her along the East coast of the US, from Cape Lookout, NC, to the Florida Keys. I dream of taking her to Havana some day.

This blog started in 2011 to chronicle the building of a hard top for the boat to replace leaky canvas. Since then the blog has become an Albin-25 boatkeeping and cruising journal.


Monday, June 25, 2012

Everything is s-l-o-w-i-n-g down


Here's an update on the status of boat stuff that needs to be done before Ms. Bettencourt can go cruising again.


  • The boat must be hauled so I can finish painting the new hardtop's underside and framework. I want to get this done before starting on the canvas. Once on the hard, work days will probably be short because the Georgia summer has arrived with a vengeance and the coatings we will be using are fancy epoxy concoctions that have some definite application temperature boundaries.

  • I have found a place to park the boat under a shed on the west side of the warehouse at the Augusta Ports Authority. This means we will probably be able to paint in the shade at least in the mornings. The haulout is scheduled for July 1 or 2.

  • Canvas acquisition is in the preliminary ideas stage. The old canvas has been sold and will be on its way to another Albin-25 in upstate New York in August. I am now looking for the right craftsmen to make a new suit of canvas to work with Ms. Bettencourt's's new top.

    I do not think I will find the skills I need locally. There are a couple of possibilities in Charleston.


    The canvas should not be a big job-- I calculate about 45 square feet-- but it will be complicated. I would like to have screens and clear panes. There must be easy in and out access. A design that allows fast and easy canvas deployment and removal is also desired.

    I have put out calls for canvas ideas through the various boating channels and a few thoughts and leads have surfaced.  Please use the comments box below to post any ideas, experiences or examples of good canvas design that you might have to share.  

  • Major interior and exterior paint work will be postponed until fall.

  • It is my goal to be on the way to a cruise, likely somewhere in Florida, by the end of August.

Robert E. Lee

Tomorrow, I am off to a History Department program on the American Civil War at the University of North Carolina in Chapel Hill. I am looking forward to hearing Prof. Freddie Kiger talk about "Lee's First Campaign--The Seven Days." 


The rest of the week will be spent exploring some battlefields in Virginia with a friend from Chapel Hill. 


While we're in Virginia, temperatures back in Augusta are expected to peg in the 100s. So it seems to me that now is a good time to step back from boat work for a time to pursue other interests in cooler climes.

The next installment of this chronicle will report on Albin painting work and canvas progress, plus, perhaps, some early cruise planning ideas. 


Saturday, June 16, 2012

Mast rake with an insight

Please recall that adjusting the light mast's rearward slope, or rake, was on my list of stuff to do before I call this new top job done. As with many boat tasks, this one turns out to be more complicated than anticipated.

The mast fits between brackets on either side of its base. Two holes drilled through the base of the mast align with matching holes in the brackets. The lowest, farthest aft pair of holes was pinned with a bolt and nut. The higher, farther forward pair of holes was secured with a removable quick pin. To lower the mast, for low bridges or trailering, just pull the quick pin and fold the mast down to horizontal on the pivot bolt.

Changing the rake angle required adjusting placement of the holes in the mast. And, since the adjustment would be small, the immediate problem became that of new holes overlapping old holes. So I plugged the old holes with dowels and cut about a half-inch off the bottom of the mast. Cutting some off the bottom made it possible to place the new holes higher in a more meaty place in the wood. This worked out well, as you can see from the following photo:

I think the the angle is much more pleasing than the more vertical stance the mast had before I adjusted the rake.

Imagining future problems, I could visualize the mast in folded-down position, banging the paint off my new top while the boat bounces around on its trailer. Maybe I need to make some kind of crutch  with a soft bottom that I can fit to the mast as a paint-saving cushion during trailer rides? Then came the insight:

Duh!

There is another way. Since I had taken pains to wire this mast so it can be easily removed for refinishing, why not just remove the mast and bring it inside? All this involved was replacing the pivot bolt with another quick pin. Like this:


So, to remove the mast, obviate the need for a mast crutch, save the paint on the top where the mast would bang and prolong the varnish life on the mast, just pull two quick pins, unscrew and cap the electrical connector and move the whole assembly inside.


Varnish?

Varnish? Did I just mention varnish? I am using Cetol Natural Teak on the light mast and the rails and it really looks good. If you want it to last, three coats of of the Natural Teak applied 24 hours apart are required. Then, these three coats must be covered with an additional three coats of the Cetol translucent protective coating. Done this way, and touched up occasionally, I have had my Cetol coatings last several years before major refinishings are needed.

I mention all this because this product is pretty expensive and it tends to skin over and get crusty in the can between uses. In the past, I have been lucky to actually apply less than half of a quart of this stuff before it crusted over and became unusable. No more!


I read some place that squirting a little propane gas in the can before capping off the varnish will keep air from the varnish surface and prevent skinning. I tried this trick with both my Natural Teak and the Cetol protective coating quart cans after I did the grab rails some weeks ago.

It works. No skins. More usable product. Propane gas is heavier than air, so it forms a propane blanket over the varnish, displacing skin and crust causing air. Be judicious in your application. No smoking or open flames should be allowed.


Meanwhile, I am not making much progress on my list of stuff to do. I need to get started painting, but I am uncomfortable doing this while the boat is in the water. I am trying to find a covered place where I can park the boat on its trailer and do all the painting in a week or so. It looks now that this will not happen before the first week in July.


Thursday, June 7, 2012

The Show Off Cruise and Remaining Details


Dia and I took the boat with its new top on a Victory Lap earlier this week, upstream through the marina then back to our home dock.

I would like to tell you that hundreds lined the riverbanks and cheered, while the fireboat sprayed cascades into the air and the entire sortie was videotaped for the 6 O'Clock News.

 But, that didn't happen. I did get a very complimentary cellphone call from my next-door neighbor, who had not noticed the project before. And the captain of the tour boat waved at us as we passed. Nevertheless, our first "show off cruise" with the new top was very satisfying. It was an event I had looked forward to for a long time.

Just a little more to do

There are a few things left to do before this project ends. Tasks include:
  • Prime and paint the top's supporting wood framework
  • Two coats of special primer and two finish coats of paint on the underside of the hardtop
  • Clean, sand and paint the dashboard and the pilot house bulkheads
  • Mount the VHF antenna
  • Adjust the light mast rake angle 
  • Design and acquire new canvas

These are just get up and go to work everyday kinds of jobs -- necessary workmanship that I will probably find to be as boring as dirt. It is probable there won't be much to blog about on as I work through the list.

A quick retrospective

I really can't think of anything big that I would do differently if I were to do this job again.  I think the only major, potentially catastrophic, mistake I would have made was averted by a reader's timely advice (See the March 1 post, Evidence in. Disaster averted).

There was one decision made before the work got under way that proved to be an incredibly important help throughout the project. That was the 8x12 foot work table that became the irreplaceable center of our off the boat construction project. It is chipped and nicked now, and dotted here and there with nail and staple holes, hardened epoxy puddles and paint spills. But in its day, it was ground zero for wood panel layouts, scarfing, cutting, shaping, sanding, gluing, fiberglassing and painting. Think about doing all that stuff on your hands and knees on the garage floor to help understand the importance of the table investment.

My friend Major is bringing his canoe over today and we'll use the table for some repair work on that craft. When the canoe job is done, the table will be disassembled and converted to shelving units across one wall of the garage.  Dia will get her parking place back--for the first time since last Thanksgiving.

We did fairly well on the financial side. The beginning budget was $2500 USD. Actual expenditures totaled $2913, an overrun of about 18%. Unanticipated paint and adhesive expenses caused most of the overage. Here's an accounting:

Item       Budget      Actual
Marine plywood 380 380
Epoxy, glass fabric 340 480
Scarfing tools 280 280
Lumber for bench 155 164
Fir lumber for framework 95 218
Paint, trim, handrails 250 637
Contingencies 250 139
Outside labor 750 640
          2500
        2938


The next post...


...will happen when there is something to write about. As I see it now, that will most likely be when the new canvas is fitted and planning has begun for a summer cruise.

Thanks again for following this lengthy project. And, as always, your comments and questions are earnestly solicited.


Saturday, June 2, 2012

Just over the horizon...

...there just could be an ending to this project. The major parts are done, I am generally happy with results so far.


The last two ratchet straps came off this morning and the 3M 5200 adhesive has made a strong bond between the top and its framework all around the perimeter and across the lateral and longitudinal support beams. When the job was done, I had used four 10 ounce tubes of the adhesive.

I think the shape of the top and its curves turned out to be pleasing.

One of the best uses I have found for our behemoth gas-guzzling houseboat this spring is as a place to stand to shoot high angle photos of the Albin on the other side of the dock. Notice how we were able to curve the top rails around to add a little character. These old teak rails proved surprisingly limber.


Here's a view forward on the starboard side. I am totally blank on how to configure the canvas for the sides and across the back. I am on the hunt for a creative canvas person who will have some useful ideas for managing the enclosure. I want heavy blue Sunbrella canvas with screens and enough clear to see out when buttoned up for winter weather.


The curvature of the rails may be more apparent in this photo. The new light mast looks a little strange to me. I think I have it standing too erect. I will try to make some adjustments at the base of the mast to give it a greater rake to the rear.


One feature I do like about the new mast is the waterproof deck connector. When this mast needs refinishing or new LEDs, it will be a simple matter to unscrew the connector unplug the mast and move the whole thing to the shop bench for the work.


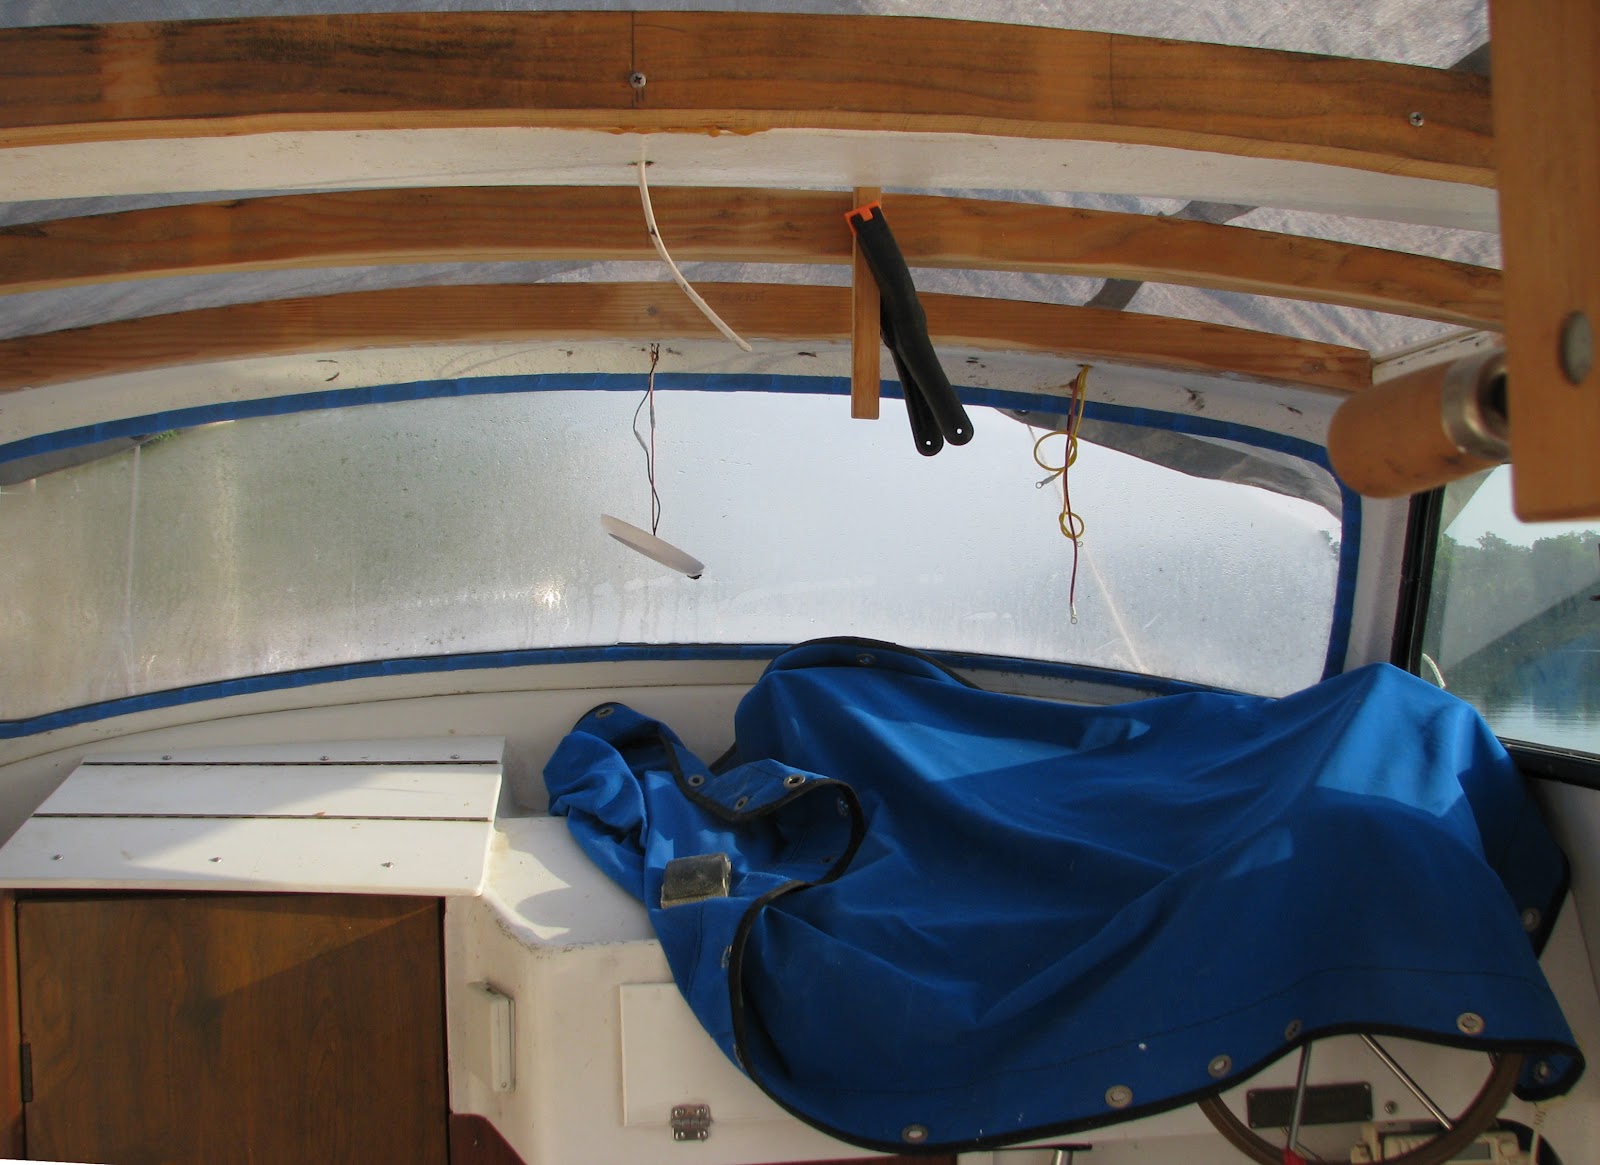
Meanwhile, quite a bit remains to be done. The underside the hardtop and its supporting members must be painted. I plan to repaint the entire middle cabin. This job will likely be pretty tedious, with a lot of surface preparation, masking, removal of the instrument panel, the steering wheel and other stuff  I don't even want to think about now.


The underside of the hardtop is epoxy coated, which means I will have to use a special two-part primer to avoid paint failure due to amine blush from the epoxy. Maybe this risk is a cruel hoax promulgated by the paint companies, but I am not taking any chances. I do not want to be repainting any time soon.


In the next post...

... I will provide a final accounting of actual versus budget expenses on the project,  and list the remaining challenges standing between Ms. Bettencourt and her next cruise. If you would like to see more detail on these pictures, click a photo to enlarge. If you have questions for me, please use the comments box below.

How about some feedback 

What would you have done differently? How can I make this account better for you as a reader? And, thanks again for following this project.

Monday, May 28, 2012

Rails Crew Braves Tropical Depression

Tropical Depression Beryl is looping WNW between Jacksonville, FL and Valdosta, GA, as this is being written. It is raining here in Augusta. Then it is not. The sun is shining. Then it is not. Here comes another impenetrable shower. There it goes.  This is why there are no pictures of the new top with the beautiful rails that Jim and I installed today.

Other than frequent rain delays, the rails installation came off without a hitch.

There was a problem with the bond between the top and its underlying framework, however. When I removed the ratchet straps this morning. a 3-inch-long, 1/4" wide gap appeared in the corner over the steering wheel. There was a similar, smaller, separation in the aft inside corner on the port side. Everything else was cemented solidly.

Perhaps these separations were caused by insufficient adhesive at glue-up, or maybe we torqued something cockeyed when we tightened down the six straps last Wednesday. Anyway, we cleaned out the gaps and shot more 3M 5200 adhesive in from the inside and the outside. Then we re-rigged wide straps over the affected areas and ratcheted down until adhesive squeezed out. I will leave these straps in place, under tension, until I can't stand it anymore-- maybe at least until Friday.

Meanwhile, I need to find out how to glue in the little teak bungs that go in the tops of the rails over the rail fasteners. These bung holes are full of rainwater now, so this project will have to await some clear, warm, dry weather.


Wednesday, May 23, 2012

The top is on!

Today was warm and sunny with a light breeze. Mercifully, there were no wake board boats on the river. We began around 2 p.m. and ended  work about 4. Temporary positioning blocks, (shown at right), were clamped to three cross members. These will hold the top off the adhesive until everything is lined up for clamping. 

Captions are above each of the following photos. Click on a picture to enlarge for a closer look. 


Dia was waiting when the finished top came down the drive, delicately balanced on the back of the pickup.


David, Jim, Major, Paul and I maneuver it though the gazebo and down the ramp to the Albin.


After the rafters and longitudinal stringers are liberally buttered with 3M 5200 adhesive, the top is placed on the positioning blocks.


That's me on the coach roof and Jim on the aft cabin top. We are aligning the registration marks on the underside of the top with center line marks on forward and aft cross members. With the marks lined up, the positioning blocks are un-clamped and removed. This settled the underside center line of the top on the center line of arched the rafters.


Ratcheting nylon load binder straps are looped over the top. They are attached at each end to 2x4s lashed fore and aft between the cleats on each side. The top's arch becomes apparent as the the straps are tightened.


Taking up more slack in the straps completes a pleasing curvature.


The top is now held in place by a clamp on the aft cross member and by the screws securing the light mast brackets forward. After everything was clamped, screwed and strapped down, more 3M 5200 adhesive was applied along the insides and outsides of the longitudinal stringers and rafters. We used 2 1/2 10-ounce tubes of the adhesive, applied with caulking guns.

And, at the end of the day, Ms. Bettencourt is all strapped up, waiting for the adhesive to cure. 


Our present plan is to let her sit like this for a week or so. Then we'll bolt and screw the handrails on each side. The fasteners for the rails will pass through the top into the stringers. At that point, the top will be firmly and finally attached to the boat.

If anyone wants more details or needs questions answered, just use the comment box below and I will respond quickly. Thanks for following this project.

.


Wednesday, May 16, 2012

Still waiting for the Big Event


In the last few days I have installed a new engine water pump and a new alternator belt and I have given the engine box a thorough cleanout. I have also been doing some epoxy filleting in the area over the windshield where the new top’s first cross member lies and some other pilot house area filling and fairing to get things ready for an interior paint job.


The top is finished and awaiting transport to the boat. I think it looks quite nice, with four coats of two-part epoxy paint.


Like many other things on this project, surface preparation for painting has turned out to be more complicated than expected. The framework we built on the boat to support the top needs to be smoothed. In addition to surface sanding, I want to knock the sharp edges off the rafters and supporting structure and to fair the intersections of wood to fiberglass with epoxy glue. This turns out to be harder than expected because the fir lumber we used for the project is really quite dense. And the pitch in the wood is gumming up sandpaper at a prodigious rate.

Meanwhile, it seems that it has been raining here, briefly and violently, about every 15 minutes. I am reminded of a time I worked on a ship in Apra Harbor, Guam, during the rainy season. It was possible to chip paint, be driven below decks by rain, return to buff rust off the spot you just finished chipping, then apply red lead primer only to have it mostly washed away by another furious torrent.

So, I am doing inside the boat work now and waiting for next Wednesday when we will try again to install the new top – weather permitting.