About Ms Bettencourt

Ms Bettencourt is a Swedish built 25-foot trailerable trawler. Her hull was completed in 1971, No. 1117 of about 2500 built. The boat is named for my wife Dia, whose maiden name is Bettencourt.

This little vessel came to me as a gift in 2004. Before then she had been abandoned about 12 years on the Savannah River near Augusta, GA. I have repaired and refitted the boat extensively, and I have cruised her along the East coast of the US, from Cape Lookout, NC, to the Florida Keys. I dream of taking her to Havana some day.

This blog started in 2011 to chronicle the building of a hard top for the boat to replace leaky canvas. Since then the blog has become an Albin-25 boatkeeping and cruising journal.


Tuesday, January 31, 2012

Moving a little faster

It seems like the pace has really picked up in the last couple of days. I have gone from a cardboard pattern, to completing the last seam in the marine plywood, to the finished hardtop cutout.

Here's Buffet Wesley Bettencourt following a careful inspection of the newly-joined 8x12' sheet of marine plywood. If you click to enlarge this picture you might be able to see the lighter-colored strip of plywood running across the large sheet. This is how I clamped the completed scarf joints after glue-up. Wax paper goes across the table under the joint. Another strip of wax paper goes over the joint, under the clamping board. Then the clamping board gets screwed down with drywall screws every 6 inches or so.


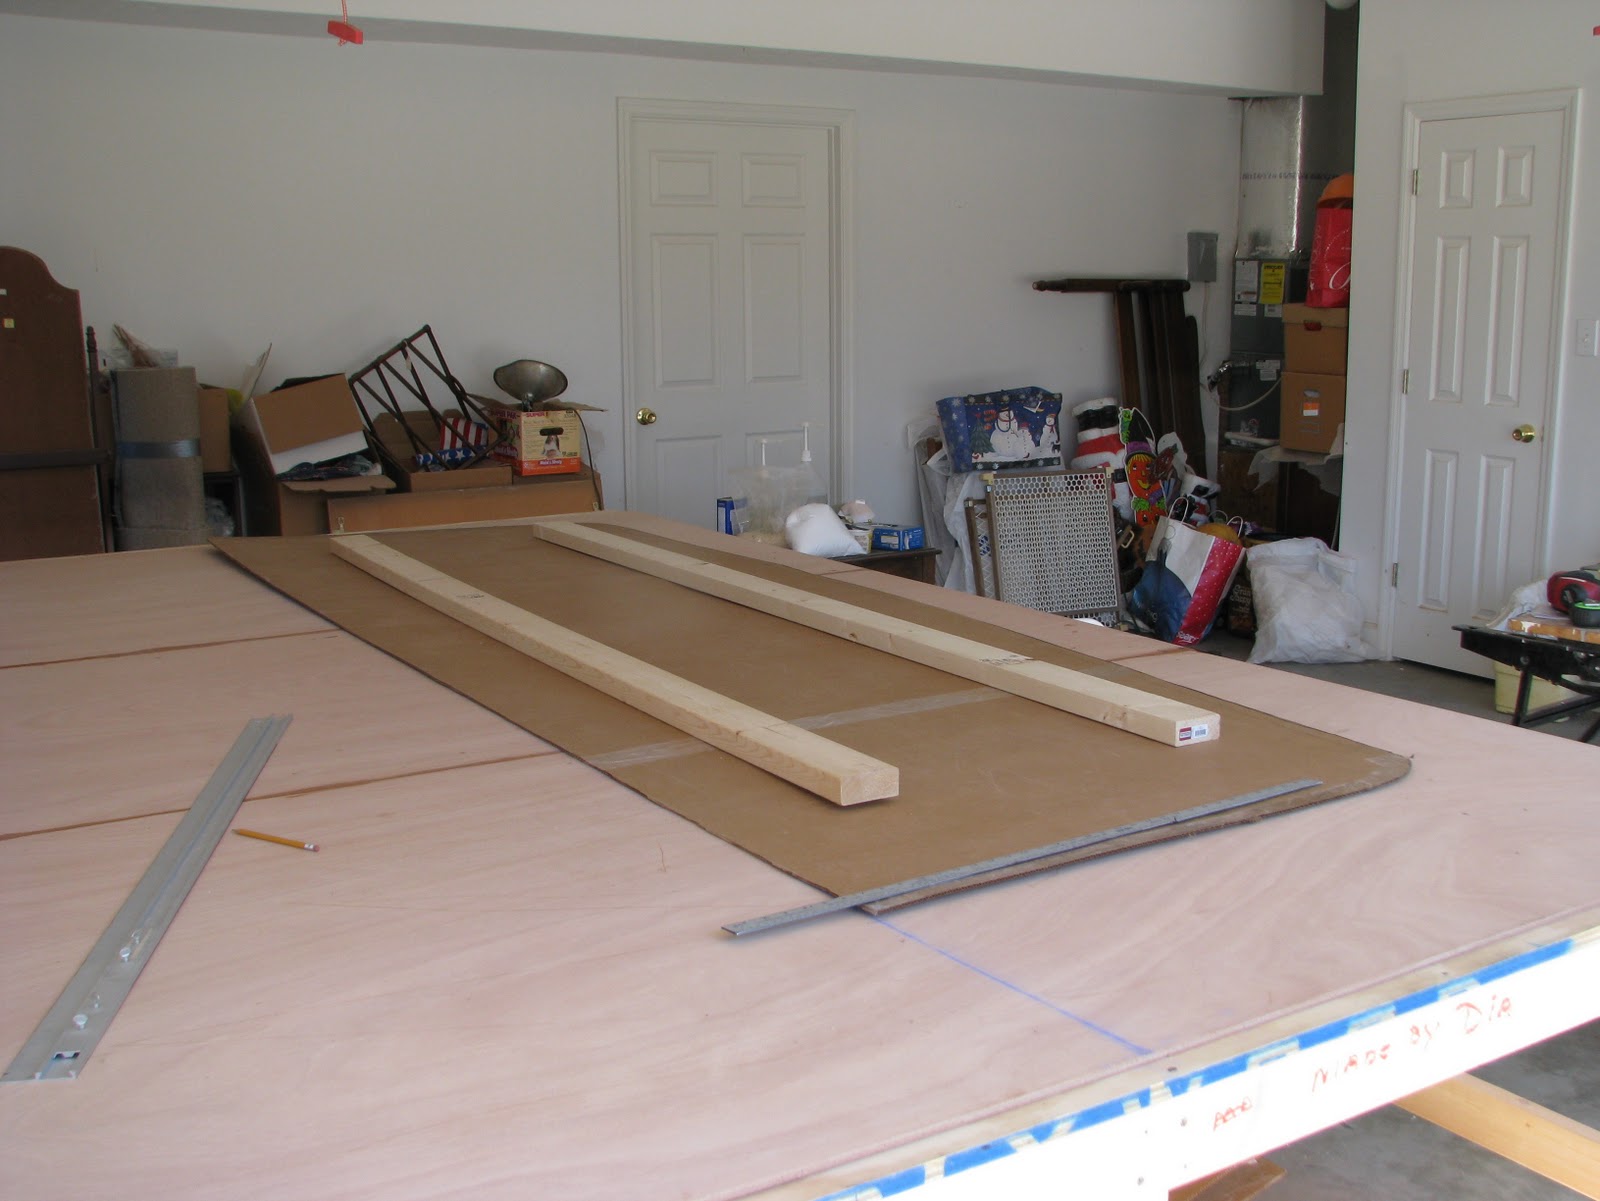
The screws come out and the clamping board comes off after about 24 hours. Then I placed the cardboard pattern on the large plywood sheet, aligning the cardboard's straight edge with a center line marked on the plywood.


Next, I pencil around the pattern. This photo shows the pattern placed to outline the port side of the hard top, as seen from aft.


Then I flip the cardboard over to outline the starboard side. The 2x4s on the cardboard in the photo to the left are there to help hold the pattern flat while I trace around it.
Some effort was required working up the courage to make the first saw cut into this pristine 8x12' piece of plywood. This piece of wood has consumed a lot of my life in recent weeks.

I started with a few tentative edge cuts... 


...then pressed on, carefully, around my pencil line, making a lot of sawdust, all the way back around to where I started.


That must be sawdust in my beard--I couldn't be going gray.

The resulting plywood cutout is still too unwieldy for me to handle alone. So a quick call to my friend Major results in the additional manpower needed to get the top off the bench and out into daylight.


We estimated that the finished cutout weighs between 60 and 80 pounds. Its final dimensions are 9' 11 1/2" long at the centerline and 7' 1 1/8" wide at its widest point.
The dark stripeing across the plywood is epoxy glue that squeezed out of the joints that made three sheets of plywood into one. I will sand these joints smooth.

Ultimately, the whole top will be covered with epoxy and fiberglass cloth, then painted.

It will still be some time before we'll be looking at Albin-25 #1117 under this top, but I am very encouraged now by the speed at which this really complicated project seems to be moving along.


Saturday, January 21, 2012

Discovering cardboard

Building a hard top for this boat has been very much on my mind for at least the last three years. As a typically trained busines school graduate, I thought out detailed processes for each major phase of the work. In most cases, this is a good way to think about complicated projects.

Sometimes, however, it is possible to rely too much on process analysis and to paint oneself into a corner. This is how I came to waste a week and countless auto miles looking for thin plywood. I had planned on using 1/8"  Luan plywood for the new top pattern. One-eighth inch Luan plywood is nowhere to be found.

Eureka!

Then I remembered the big cardboard carton the marine plywood came in. So, today I have learned a lesson about being more flexible. And the project is on the move again.

Cardboard is great stuff for big patterns. It can be easily worked with a box cutter. Mistakes can be fixed with package tape.

How we made the pattern

We tacked a big piece of cardboard on the framework previously built on the boat. Then I followed around the outside of the framework with the point of a pencil compass. As the compass point tracked the framework perimeter, the pencil transfered the structure's curves to the underside the cardboard. The overhang widths on the front, sides and back of the top were penciled onto the cardboard by adjusting the radius on the compass for the desired overhang dimensions. Real boat carpenters call this technique "spiling." Spiling can be tricky, but accurate results can be achieved with practice and care.

So here I am, spiling away. Please note that I have discovered another important fact about making big patterns:


It is not necessary to pattern the whole structure. I need only make a half-pattern. When it comes time to transfer the pattern to the plywood, I will pencil around my half pattern, then flip it over to trace the opposite perimeter.


Here's what the half-pattern looked like after I had cut along my compass tracks. Dia, who is 5'  6", provides a sense of the cardboard cut-out's size.
At this point, the pattern will produce a top that is 10' 2" long and 7' 1" wide.


The pattern, tacked back on the framework for a test fit, suggests how the final product will likely look. The "eyebrow" overhang in the front will be 8". We first planned for a 5" overhang in the back, but after looking at the pattern in place, we increased the rear overhang to match the front--8".


The overhang along the sides of the top was set at 5 1/2". We wanted to extend the side edges far enough so that rain running off the top wouldn't flow inside the cabin coaming, but not so far as to hamper cabin access and movement around the side decks.
    
  
I draped a weighted piece of string over the pattern's edge to simulate a drip line. You may be able to see it better if you click this image to enlarge it. I measured about a 2" clearance from the drip line to the coaming edge. That may not be enough. I might widen the the final top width to increase this offset.


Rain and sawdust


Rain is expected here over the next few days. The pattern will be moved to a dry corner of the garage for a time.
Next, I will start the work of joining three 4x8 sheets of marine plywood into one big sheet from which the final top will emerge.

Wednesday, January 11, 2012

Even a blind hog...

...finds an acorn now and then. I have finally found my way in this miserable scarffing quest, just by trial after trial and, probably, by accident.

Here's a piece of 3/8" (9mm) plywood with a 7-foot test-scarf joint running lenghtwise down its middle. Dia has just finished screwing it down to one of the rafters Jim installed last week.


The joined plywood plank did not creak or complain. It bent compliantly and conformed sweetly to the curve it was supposed to meet.

This test piece is made out of inexpensive sheathing plywood, but I think it's a good proxy for the 9mm marine plywood that will ultimately form the new top.


The photo below begins to suggest what  the hard top arch might feel like looking up from the inside:


Please disregard the knots and other flaws in the wood.

The important points are that the test piece curved as it was supposed to, and the scarf joint proved flexible enough to go along without breaking.


 The photo below shows how the test plank's curvature at the overhang conforms to the slope Jim cut for it on the longitudinal stringer. A perfect fit.


I'll leave this plank in place for a few days, then remove it to see if the arch will "set", or if the plank will bounce back to a flatter shape.


If you click to enlarge this image and look carefully, you might be able to see the end of the scarf joint in the outboard edge of the plank.

I have had enough scarf joint learning to last a lifetime. It is time to move on.

Next: Making a pattern for the new top's shape.

Saturday, January 7, 2012

Wisdom vs courage

Results are in from my scarf joint test. I released the clamp after 24 hours cure time, and this is what I found:

Side-A looked fairly good. This is the side facing up; the side I could see when I mated the two scarf surfaces.


Side-B was a mis-matched disaster. This side of the joint is beyond ugly. No amount of sanding and filling would fix this mess.

Thus, this first test revealed at least two seam fitting failures:

  • The faces of the test scarfs were imprecisely cut. I have to devise a way to scarf with much finer tolerances; to make cuts of near equal slope and width; and,
  • The two pieces being joined were glued together cockeyed on the bottom side of the joint. I will have to figure out a way to index the two pieces together so I can be sure the bottom side of the joint is as well aligned as the side I can see.
And what about strength?

This is one strong puppy. I jumped up and down on it and it did not break.
 
  One big problem, though: It would not bend. This is not good, because the finished top must have a nice pleasing curvature along the same axis as its scarffed seams.

It is decision time. Press on courageously to the full-size marine plywood panels and hope the joints work out better this time? Or, stand back, analyze and test another method?

I am taking the latter course.

And then there’s the inflexibility problem. This is serious. The final seams will have be bendable. The finished top must have a gentle arch.

I think greater seam flexibility will come from cleaner cuts and thinner glue. In the next test, I will use a soupy glue mix instead of the peanut butter consistency stuff I slathered on the first time.
So, as much as I would like to charge ahead, it’s back to the test bench. I think it is better to grope around for the right joining technique using inexpensive materials, than to try and fix botched joints in the real stuff.

Lessons learned: Better mating cuts. Thinner glue. More patience.

Tuesday, January 3, 2012

Scarf anxiety

It’s cold outside (for Georgia) and the wind is blowing a half-gale. Most of this week I have been inside, thinking about scary things. Like how easily I could mess up $380 worth of marine plywood if I am unsuccessful at making two eight-foot-long scarf joints.

Scarffing comes into this project, because it will be necessary to make three 4 x 8 marine plywood sheets into one 8 x 12 sheet. The new top, which will be about 7 feet wide by 11 feet long, will be cut from this big sheet.

Here’s a definition of a scarf joint, taken from Wooden Boat magazine:

A scarf joint is made by joining two pieces of wood having tapered, beveled, or chamfered ends which over-lap together, as opposed to a butt joint where squared ends of the mating pieces simply butt together. Scarf joints are used to make longer members where single members of sufficient length are not available or are too costly. Both solid wood pieces and sheets of plywood can be scarf joined using epoxy. With the proper cutting and gluing methods, such joints will be amazingly strong, exceeding that of the joining wood members.

Duckworks, an online boat builder’s magazine, showed this side-view diagram of a scarf joint:


This looked simple, but the prospect of screwing up expensive plywood still haunted me. So, I fell back on my usual response to frightening woodworking projects: I ordered a new tool.

But today, the last refuge of the carpentry coward has fallen away. My new tool, the John Henry Planer-Scarffer Attachment, has arrived. Progress compels me to make some test scarfs.

So here we are, making scarfs:


 It is good that I did this. I learned a lot. The first thing I found out is that this thing can make a heck of a lot of sawdust real quick. Said another way, it really removes the wood.

Another lesson learned is that there is at least one very good reason to pay the money for marine plywood. Marine plywood has no voids.

My test pieces were not marine grade, just some 3/8" scraps I had in the shop. In just a few passes, the scarffer revealed numerous voids between the plies of the wood--places where there was neither wood nor glue. Filling these voids with epoxy could make a smooth joint. But when the epoxy glue cured, there would be hard spots where the voids were. These hard spots would seriously reduce the joint's flexibility and strength. It is unlikely such joints would bend enough to make our new top without breaking.

But probably my most important learning of the day came with actually cutting some scarfs. I found I could do it!  Behold:


Admittedly, the tapers I scarfed on these two short pieces are not beautiful. I had to touch them up with a block plane. Then, there are the voids....

But, I have familiarized myself with the new machine. I have made a small start toward conquering scarf anxiety.

I will work with these test pieces some more. In a few days, I will glue them up with epoxy and test them for strength. I'll see what it takes to break the joint.

Then I'll move on to the big sheets. Still scary work, but I think I can do it.